RPA | A2019 Package Development| Automation Anywhere - Part-34
A2019 Package Development - This article will guide us through the package development process using A2019 Automation Anywhere, what pre-requisites are required in order to build the package and how to install those pre-requisites on your machine.
Before digging deep into the package development process let us firstly discuss what are packages. Packages are Java Archive files also known as JAR files which contain third party application exe or executable files which are used for bot creation. The A2019 Package development kit provides users with the detailed instructions to independently develop custom actions and upload and manage the packages in the control room.
So now discussing about what pre-requisites that must be there in your system in order to build the package are as follows:-
- JDK 11
- IntelliJ Java IDE
- Gradle Plugin
- Go to your browser and type in JDK 11 or simply open this link by clicking on it JDK11 .
- Scroll down the window and you will find two options i.e. windows x64 installer and windows x64 Compressed Archive. In the first option there will be an exe file and the second one is the zip folder. Download anyone as per your convenience.
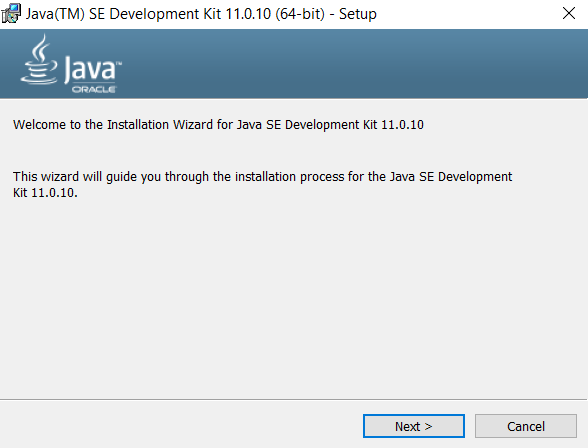
- Let it download. Once the download completes open the exe file and you will get the installation wizard will open.
- Click on Next after installation wizard opens as shown in the screenshot below.
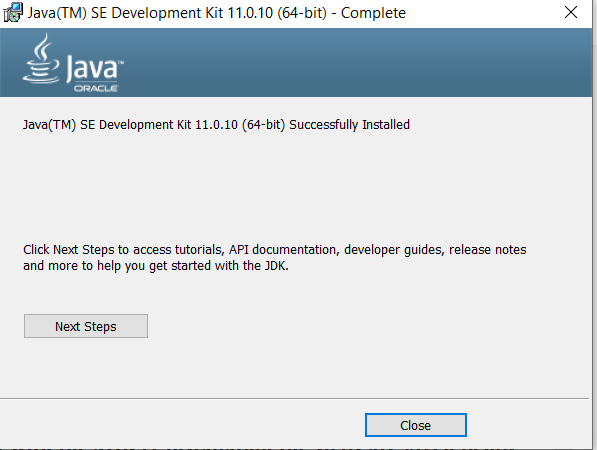
- Again click on Next button in the wizard. Once we click next then jdk11 will begin to install.

- Once the installation is done click on close button to close the installation wizard window.

- Open your browser and type in IntelliJ Java IDE in the search box or simply click this link to open IntelliJ Java IDE .
- Once the link is clicked you will be redirected to a new window which will show information regarding the IntelliJ Java IDE.
- On this window you will find two options i.e. one for community edition which is free and built on open source and the other is ultimate edition and it is free for 30 days and after 30 days you need to purchase.
- Click on community edition download button.
- Once you click the download button the community edition exe will be downloaded.
- Once the setup is downloaded click on exe file.
- The installation wizard will open. Click on the next button.

- In the choose install location wizard window click on next.

- In the installation option select or check add open folder as project and also click on 64-bit installer as shown in the figure and click on next button.

- Now click on install button to install the IntelliJ Java IDE.

- Wait for the installation to complete and once installation is completed click on the finish button.

- Click on the link given Gradle .
- Click on the link as given again A2019 Package SDK .
- Once you click the link given in step-2 the download of the zip folder will begin.
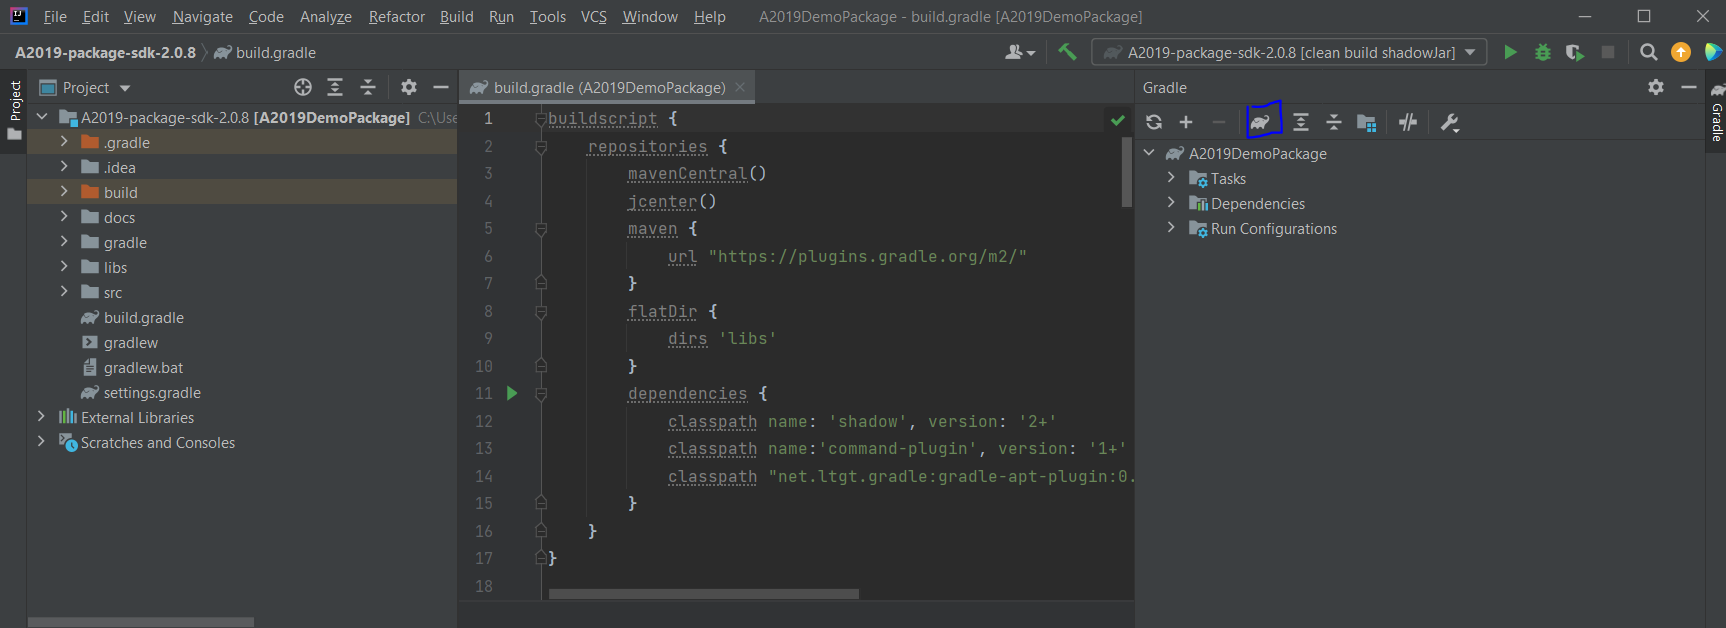
- Once the download completes right click and click on extract all and the zipped folder will unzip shortly.
- Login to your A2019 Enterprise control room with the control room credentials.
- Once you login successfully then click on Bots and then click on packages.
- Packages page will open and in that click on Add package button.
- Once you do Add Package upload the jar file from the required folder location and click on upload package.
- In the Bots->Packages->Confirm package page select one of the option i.e. accept, enable and set as default which will upload and enable the package and will set it as default package for the enterprise control room and the second option is accept and enable which will only upload and enable the package but will not set it as default package the bot creator user will have to manually do this and if we select reject then it will stop the uploading process of the package.
- After installation, click Administration->Packages to verify that the package was added successfully.
Good job!
ReplyDelete