RPA | A2019 Credential Manager| Automation Anywhere - Part-37
A2019 Credential Manager - In this blog we will explore about the another useful concept i.e. Credential Managers and how important does this feature or package plays an important role to provide security to the credentials of the application being used by the various organizations and the clients.
So let us start our discussion from the basics i.e. what is credential manager.
Credential Manager is a technique where we can store our credentials which we can use it later in our process to access those and except us no one else can use those credentials and misuse them. So with credential manager individual's identity is maintained. The concept of credential manager is just like the concept of net banking that we use daily to login to our respective banks online where the banks repository acts like a locker to your credentials and you as an individual has the authority or the permission to use your credentials and no one else can use any other person's credentials.
Moving on we will now discuss how we can create credentials in the credential vault of the control room and then access those credentials from the task bot to use it further in our processes. The steps to create credentials in the control room are as given below:
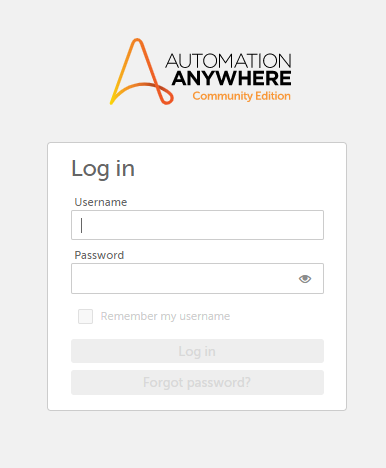
- Login into the A2019 control room using your control room username and password.
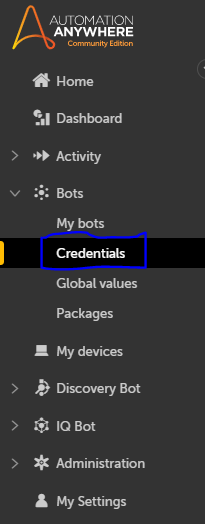
- Once you login, dashboard page will open by default. Click on bots->Credentials to open the credential vault and by default "My Credentials" page will be opened.
- Click on "Create Credential" to create the credentials.
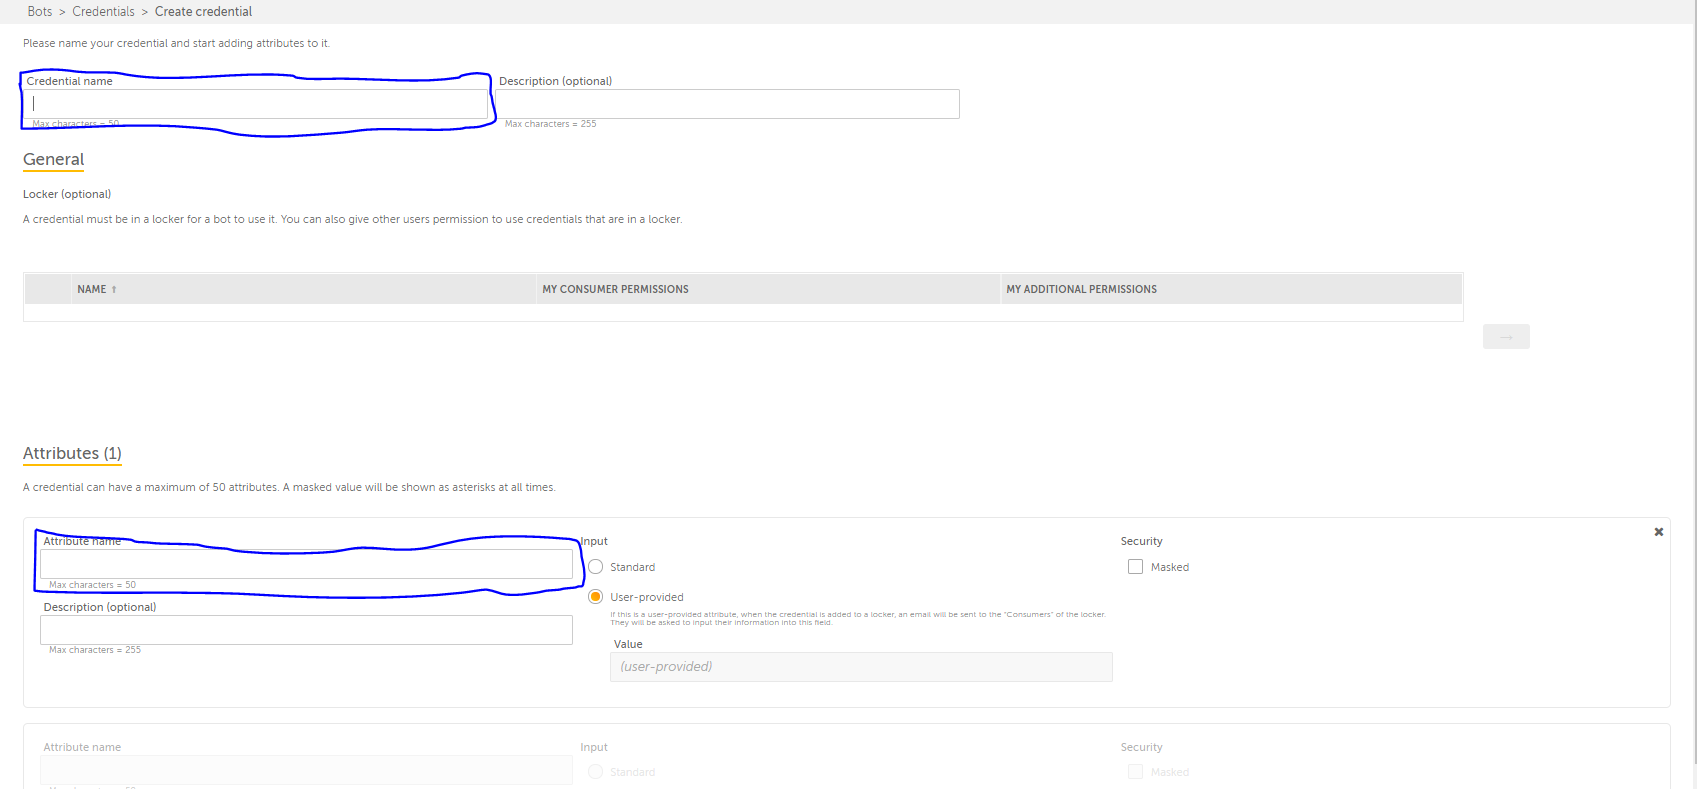
- Once clicked we will be redirected to create credentials page where we need to fill out certain information like pass in the name to your credentials that you want to create, then create the attributes that you want to access from your task bot such as username and password. In the attributes you can either select the standard option as well as the user provided option. In the standard option you have to hard code the value but in user provided option we can dynamically assign the value.
- Once all the information is filled click on Create Credential button.
- As soon as we click on create credentials button the credentials will be created.
- Select the credentials checkbox and click on create locker with checked items.
- By clicking on create locker with checked items create locker window will open where we need to create the locker for the credentials that we have created in the above steps.
- Provide the name to your locker and click on next.
- Owners tab will open and in this tab select the list of devices available to make them the owners and click on next.
- Now we will be directed to managers tab and in this tab we will select those users whom we want to create managers. Click on next.
- Then we will be redirected to participants tab from where we need to select those users to whom we want to make them as participants.
- Finally we will select those users who will consume the credentials that we have created.
- Last step is to click on create lockers button and our locker will be created and an email would be received on your registered email id that a locker has been created with consumer permission.
- Locker owner - A owner can view, edit and delete a locker and can add and remove owners.
- Locker manager - A manager has access to all functionalities like an owner but a manager cannot add owners, managers and participants in the locker.
- Locker Participants - A participant has the access to view the locker and also can add own credentials to the locker. A participant does not have the right to access or cannot view credentials which are created by others.
- Locker consumer - A consumer have access to view locker and can also input credential values.
- Create a new task bot.
- Drag & drop "Read Credential" command from the credential manager package.
- In the properties section under the credential tab click on pick button select the locker from the drop down and then select credential from the drop down again and finally select the attribute that you created and click on confirm button.
- Create a variable of string data type to store the output.
- Drag message box command to display the output.
- Repeat step 2,3,4,5 for all the attributes that are created under the credential vault.
- Once all this is done save the bot and run the bot to display the output.
With that we come to the end of this blog where we discussed about how to use credential manager, how to create credentials using A2019 Automation Anywhere and how we can consume the credentials which are being created in our task bot.
If you have any queries regarding this blog then you can raise your queries in the comment section and I will be more than happy to answer all of your queries.
Before signing off I would request you to please provide your feedback on this blog as your feedback really matters the most to me.


Softlogic institute offers best training for Automation Anywhere. Visit our website for more info: Best Automation Anywhere Training Institute in Chennai
ReplyDelete